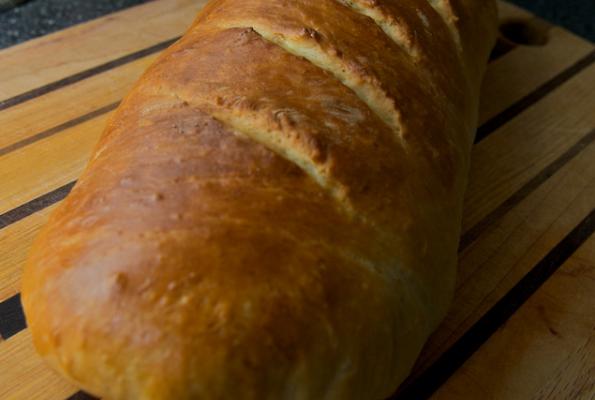
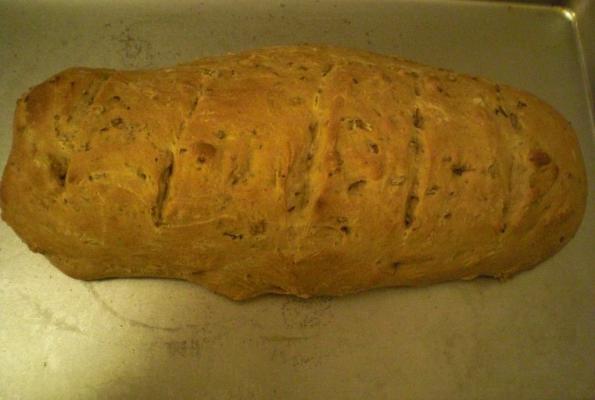
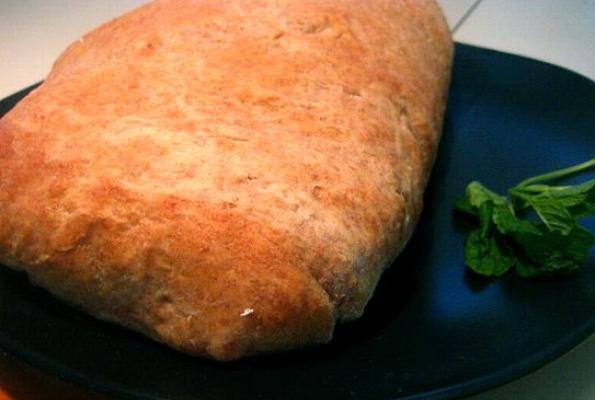
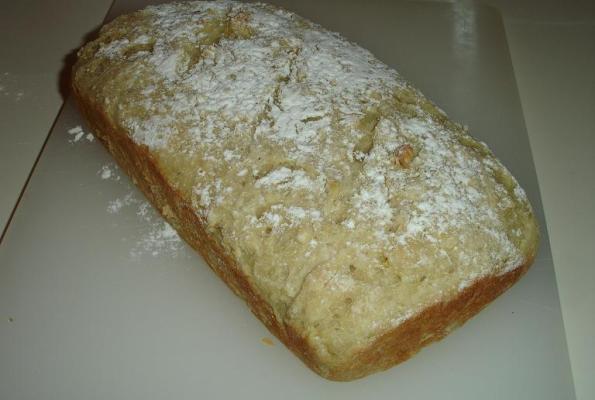
Outrageously Easy BIG Bread


2 (1/4 ounce) packets yeast
1/4 cup warm water
2 cups hot water
3 tablespoons turbinado
1 tablespoon salt
3 cups + 3 cups flour, divided
1/3 cup vegetable or corn oil
1. To proof yeast, pour warm water into a small ceramic bowl and add the yeast, but do not stir. Set aside. In a large mixing bowl, pour hot water over the turbinado and salt; stir with a wooden spoon to completely dissolve. Combine 3 cups flour with the hot water mixture. Pour the oil on top of the dough mixture then add the yeast mixture on top of that, but do not stir.
2. Top with the remaining 3 cups flour and mix well. (I begin mixing with the wooden spoon but I very quickly have to move into squishing the dough with my hands.) At this point, the dough should be pliant and moist, but not gooey. Cover the bowl with a damp towel and set aside to rise for at least 45 minutes. (I've left it for almost two hours.)
3. On a lightly floured cutting board or countertop, divide the dough into half. (This is when I recruit someone to knead the dough, but the recipe actually calls for no kneading; I've done this recipe many times without kneading anything, and it always turns out really good.) Flatten each half into roughly an oval/rounded rectangular shape, about 1/2-3/4" thickness.
4. Roll the dough lengthwise and place on an ungreased, but very BIG, cookie sheet. (If you don't have a very large cookie sheet, use two cookie sheets, one for each half of the dough.) Cover the dough with a moist towel and set aside to rise again for another 45 minutes (or longer).
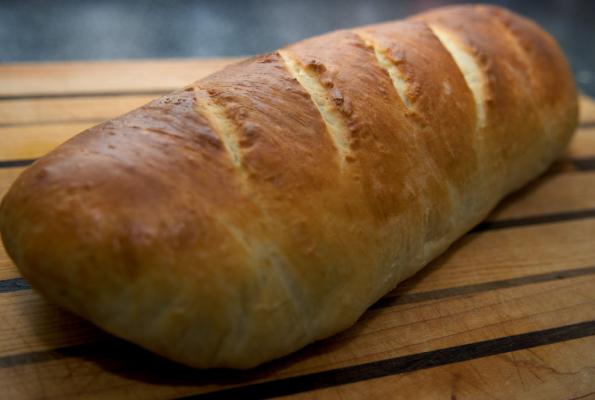
5. After the dough has risen the second time, preheat the oven to 375 degrees F and bake for exactly 23 minutes. If you can keep everyone from digging in right away, allow to cool for about 15 minutes and then enjoy. (Also, before the bread bakes, you can slit the top of each lump of dough a couple of times and brush lightly with some kind of egg substitute. The glaze helps the bread come out with a slightly crunchier crust. I don't usually bother.)
Source of recipe: Whenever I go to potlucks, I bake this bread and it disappears within minutes. I've even had special requests for it. At a family Christmas, after I found out that store-bought rolls (ick!) would be served with the Christmas Eve dinner, I announced that I would make homemade bread. Since dinner would be served in a little less than two hours and since my family knows how much I absolutely detest cooking, my mother thought I was lying. She couldn't believe that I could make "respectable" bread without any kneading and in time for dinner. I made this bread and, as usual, it vanished almost instantly. My mother got this bread recipe from me. I think the dogs got the store-bought rolls.
SO HOW'D IT GO?
I just made this and it turned out AMAZING!!
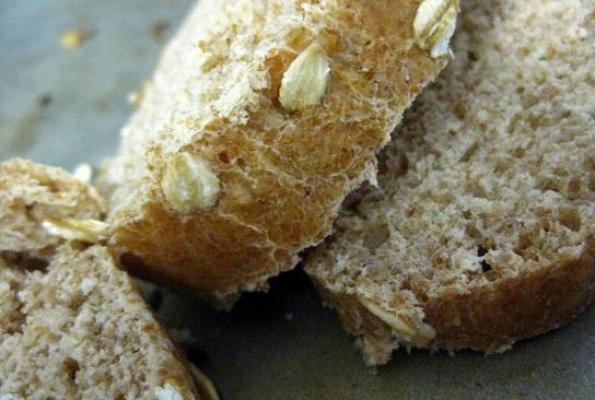
By any chance does anyone know how I might convert it to a whole wheat bread?
With white flour YUMMO!!!!!!
I made this in my crock pot today - it was amazing!
It remains my go-to bread recipe.
I knew I had heard of people making bread in their crock-pot before, but now that I actually own a crock-pot I want to try it myself! Can you share how you did it? Thanks!
I made this in my crock pot today - it was amazing!
It remains my go-to bread recipe.
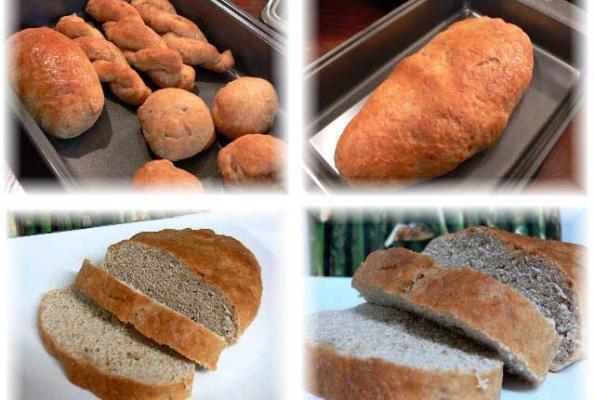
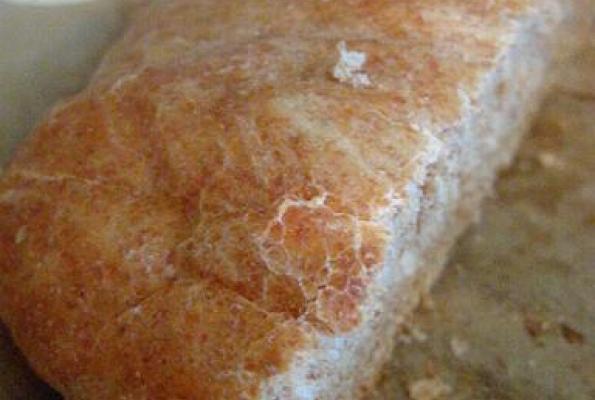
I made this for the first time tonight, so I stuck to the original recipe. It was also my first time ever baking bread. I used 50/50 whole wheat and all purpose flours.
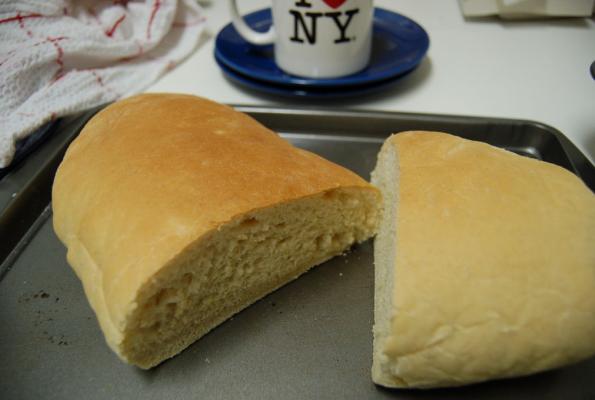
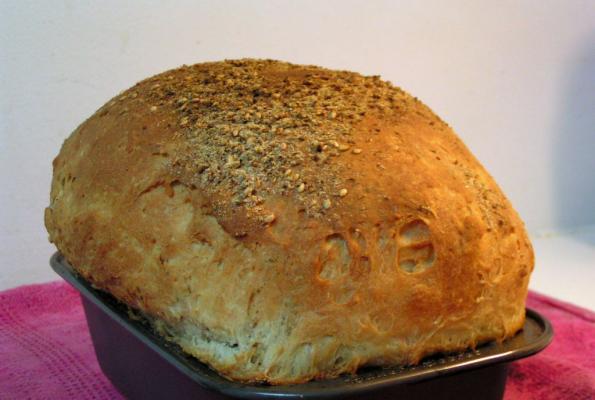
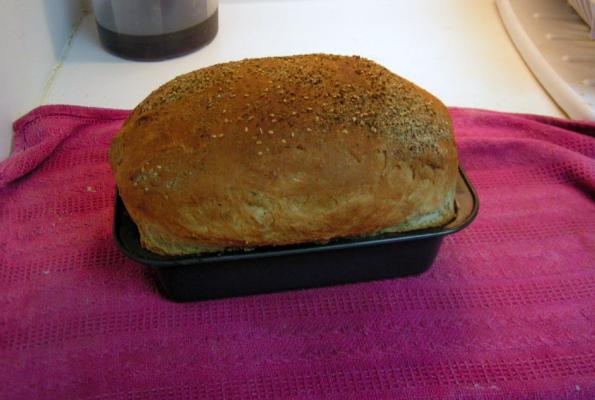
It's quite good, but now I need to know- Those of you who in the photos made this bread into a square loaf, I'm assuming you used a bread pan? How much dough do you put in to the bread pan/how many loafs do you get doing it that way? I need this bread to be more a square shape so I can use it for sandwiches.
I guess I added a bit too much water or something because it was so dense, even after 40 minutes of baking and it even deflated, it looked like a pudgier pizza base and even with herbs and garlic was flavourless!! It was sticky in my mouth even while looking softish :(
I even kneaded it :/
;)b I thought this bread was absolutely wonderful! I made it for the first time for Thanksgiving last year. I am always leery of trying new recipes for a holiday dinner without giving them a test run beforehand, but HOLY MOLY this turned out perfect! Since I don't use vegetable or corn oil, I decided to melt some Spectrum Organic Shortening in its place. No problem at all. While it was baking in the oven, my dinner guests kept asking what the wonderful smell was!!!! I have made different variations of it with whole wheat bread flour, too. I can't seem to mess this bread up!
My husband begs me to make this bread all the time. I can't seem to say no because it is just toooooo easy! ;D
so easy! Very tasty as well. I've made it twice now. Thank you so much.
Congrats on making your own bread! I've played around with halving the recipe. I still use 1/4 cup warm water to put the yeast in. I usually put the yeast in a small measuring cup then pour the water on top. You should still swish it around a bit or else you will end up with a big glob of yeast on the bottom.
Also, if your bread is having trouble rising one trick that I've learned is to put it on the top rack of your oven. Then boil some water and pour it into a pan. Stick the pan on the bottom rack, just below the bread dough that needs to rise. This creates the perfect moist heat.
You probably do want to shape the dought before placing it in a bread pan. What I do is punch the dought down, knead out all the air bubbles a couple of times then roll it into a rectangle that is about 1 to 1/2 inch thick. Then start at one end and roll up the rectangle into a log shape. Pinch the edges shut, and then put it in your breadpan or on a cookie sheet.
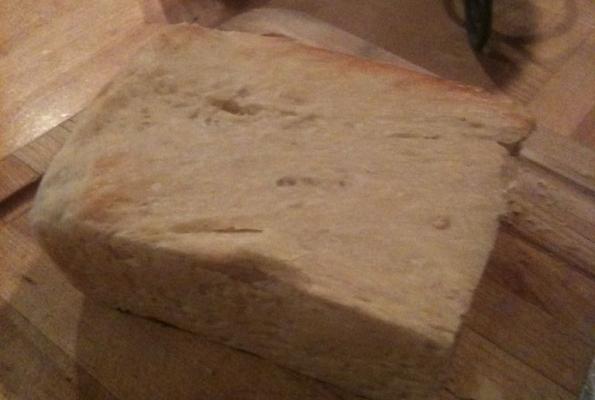
Made this for the first time yesterday, and it was DELICIOUS! Store-bought bread just doesn't even compare to homemade. However, my bread didn't rise much. It certainly expanded, though. I was disappointed in that aspect of it, but I think it's because the house was just too cold to let it rise properly (despite a lot of kneading and letting it sit for about 2 hours each time). Fortunately, the shape did not compromise the taste at all.
I used half WW and half unbleached organic. I did half the recipe, but I was unsure what to do about one part. I didn't know if I should also half the warm water for the yeast or just leave it at 1/4 cup. I notice that my packet of yeast said to use 1/4 cup water per one packet, but the recipe called for 1/4 cup water for two packets. I don't know much about bread so I wasn't sure why it was like this. Anyway, the first time I tried to proof the yeast, I put the water in first and then sprinkled the yeast. It didn't bubble at all and I could tell it was no good. So I tried again and this time rinsed the bowl in hot water before doing anything (the bowl seemed too cold if I didn't). Then I put the yeast in first, and poured warm water on top. I also lightly covered it with a paper towel. This seemed to work a lot better, but I am still not sure about whether I should be using only 1/8 cup water or 1/4 cup water if I half the recipe.
Oh, one other newbie question....if I want to cook it in a bread pan next time, do I just stuff the dough in there and let it work its magic? There's nothing special I have to do? (Hope this all made enough sense...it's almost 1 in the morning and falling asleep as I type this!)
The technique of warm yeast mixture and hot water is ingenious. The bread will always turn out fluffy even when it is a bit colder outside. But the bread was way to yeasty for me. I would recommend using half the required yeast.
Pages